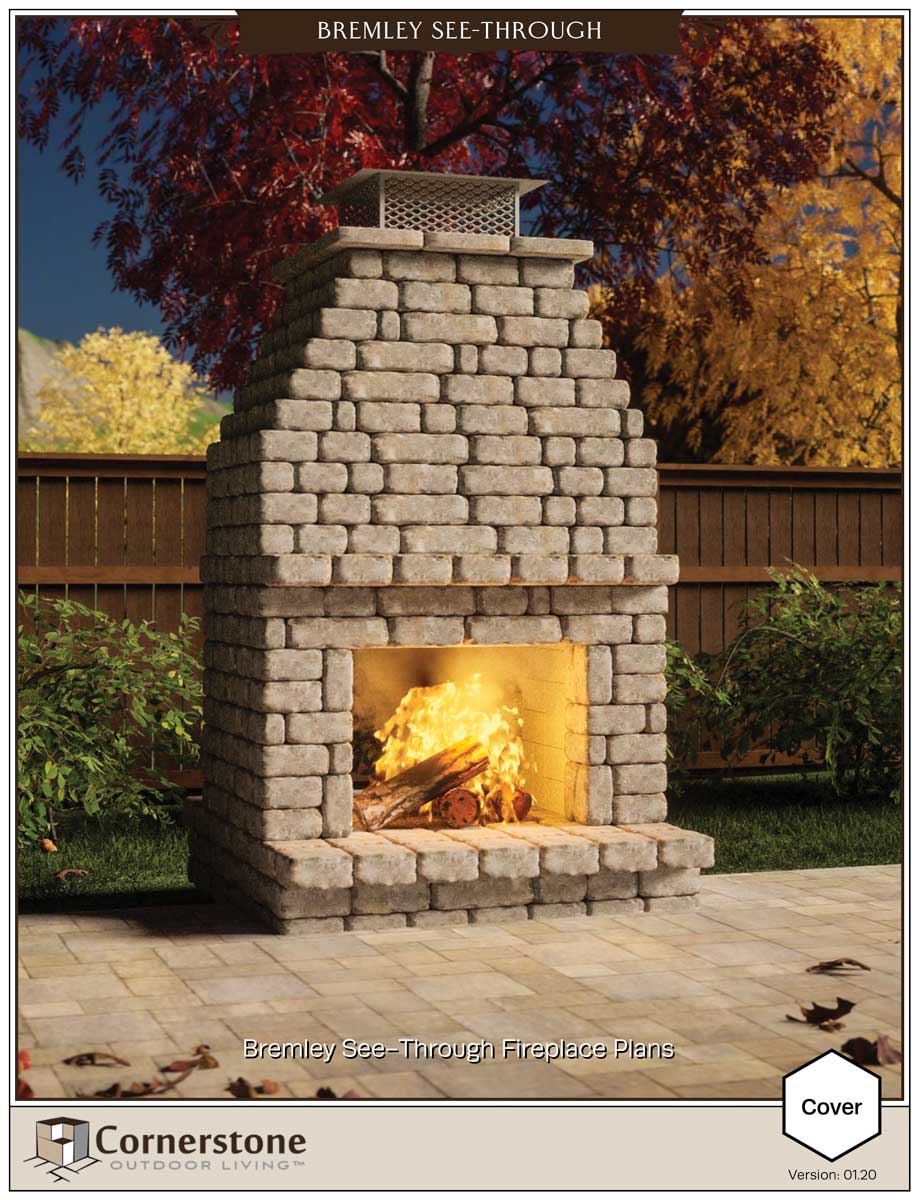
How to Build an Outdoor Fireplace Step by Step- Part 2
Starting Your Fireplace Build
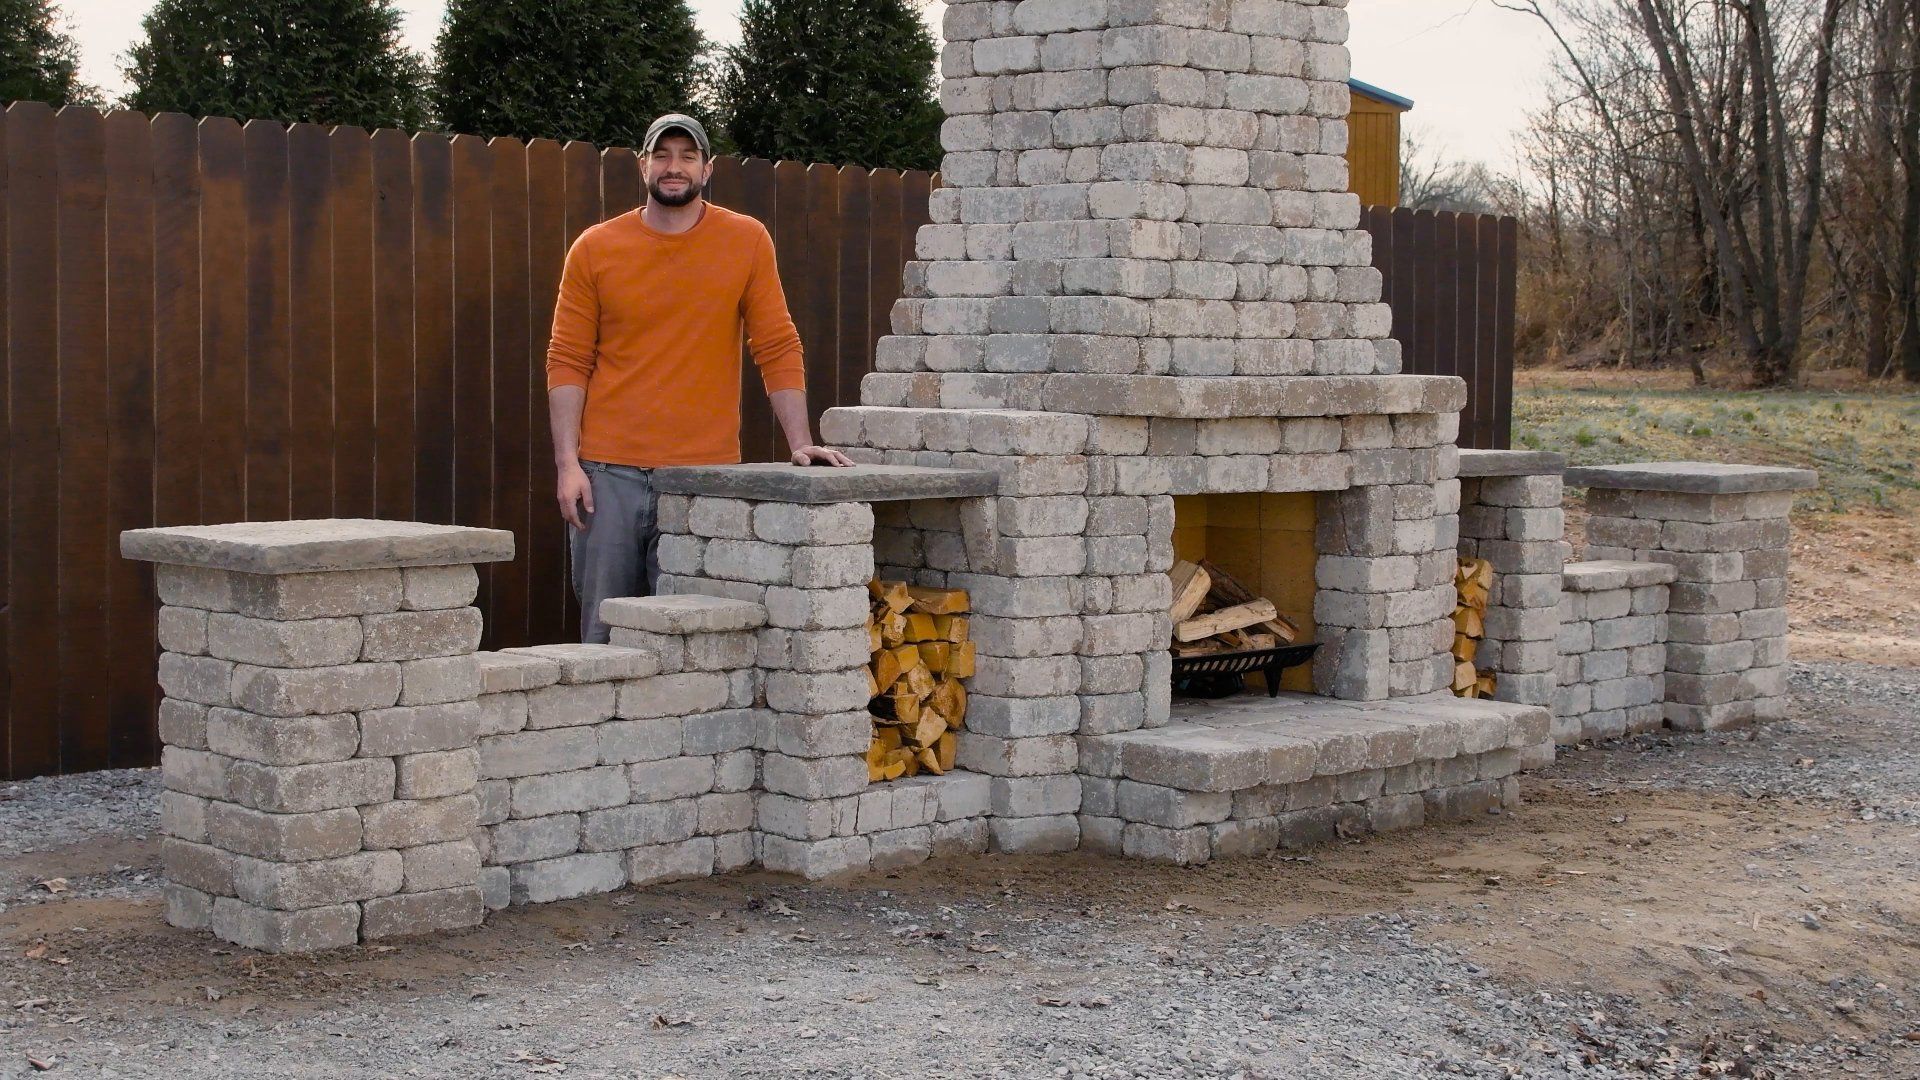
You finished your foundation, and it is perfect. Now you are ready for the fun part. The build will go fast. There is no need to get in a rush. Take your time and be deliberate. Take a break when needed and stay hydrated. This fireplace will last for years. Be sure to get it right now, as you won't be able to fix it later.
These articles have insights that you won't find anywhere else. But they are based on my videos that offer insights and tips that you won't find in these articles. Be sure to watch and reference my instructional video series. By watching my videos and reading these articles, you will be ready to build your personal outdoor fireplace to help create your dream backyard paradise. If you still have questions, be sure to contact us.
New Paragraph

A Few Things to Keep in Mind While Building Your Fireplace
There is no mortar needed to build this kit. You will glue courses of blocks together to build your kit. After laying a course of block, sweep it clean. Then, you can apply adhesive on top of the blocks. Place the next layer on top of the block to adhere them together. Brush off any loose debris before setting a stone. You do not need to glue the sides of the block together unless stated otherwise. Apply the glue sparingly. It is best if you feel the blocks scrape together when stacked. You don't want the blocks to slide and float on a thick pad of adhesive. A double 1/4" bead is usually ideal. glue does have a slight thickness. You can use dollops or glue one side to make adjustments to your blocks less than 1/8".
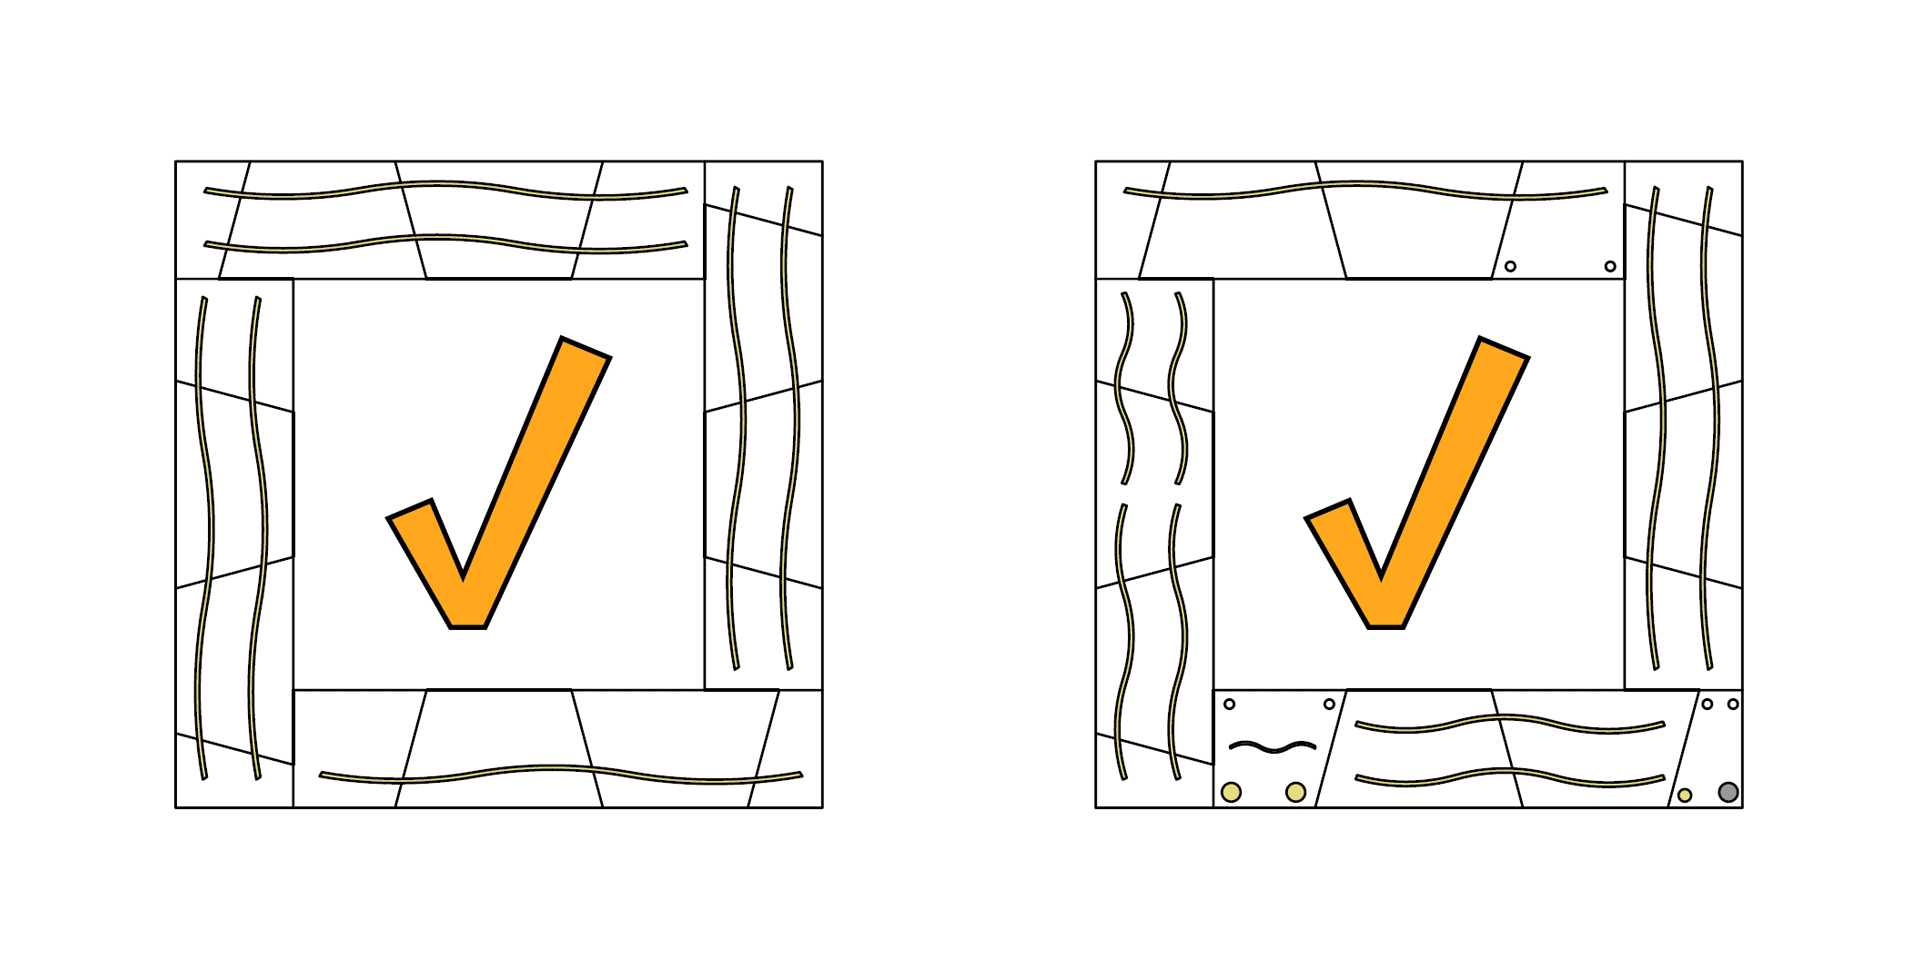
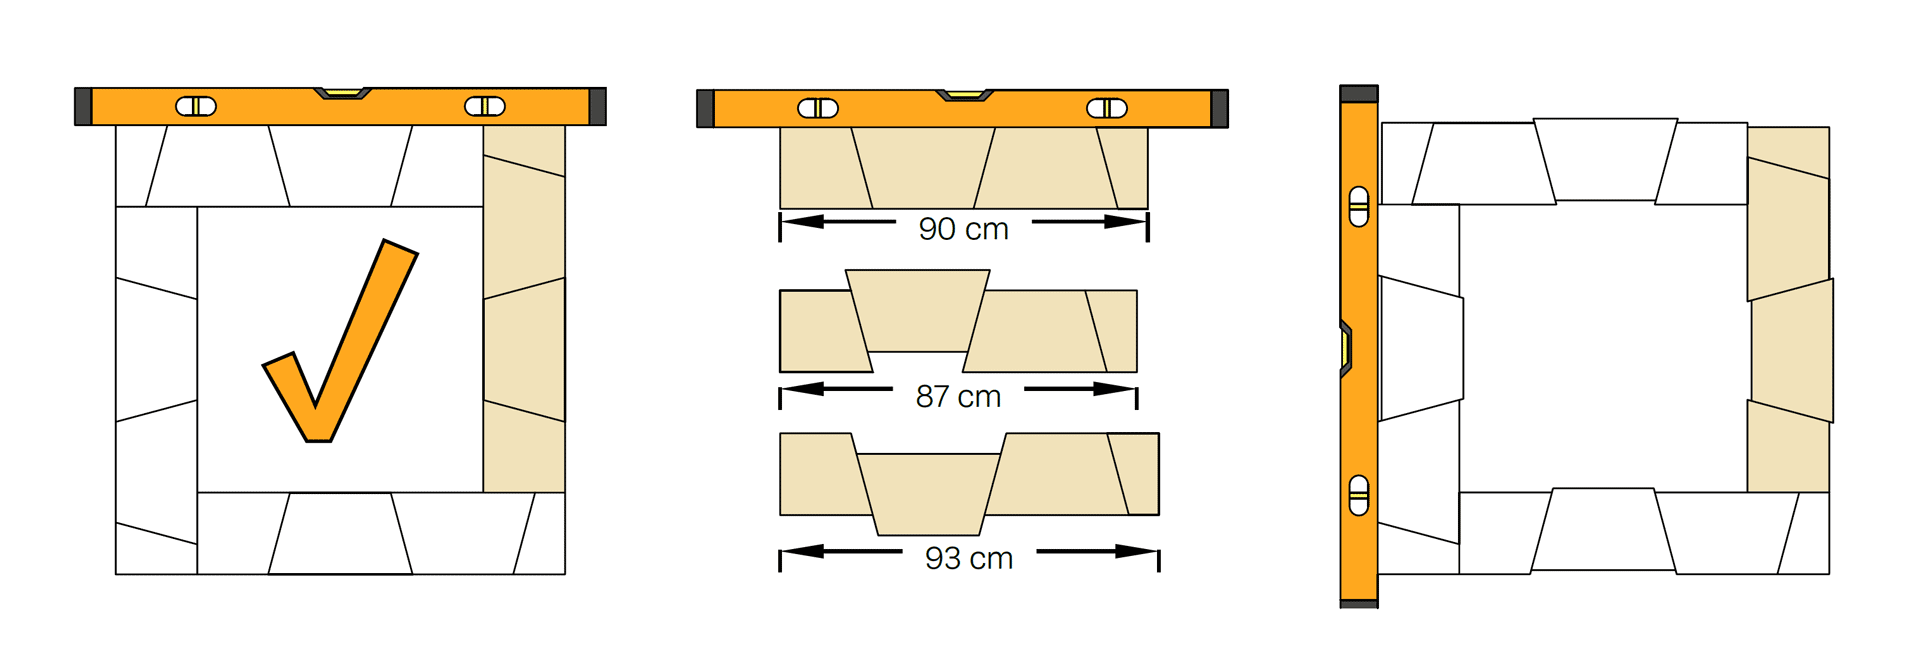
This kit mainly consists of layers (courses) of rectangles built from your blocks. Be sure to keep the blocks in straight runs when constructing this kit. Doing this will ensure that your blocks end up at the proper length. As you can see below, if the blocks aren't in line, the length of the run will change. Keep your courses straight, square, level, and plumb. You can only build a wall to one side. For best results, align the blocks to the outer surface of your kit. Any variance in the material will only show on the inside.
Downloadable Instructions
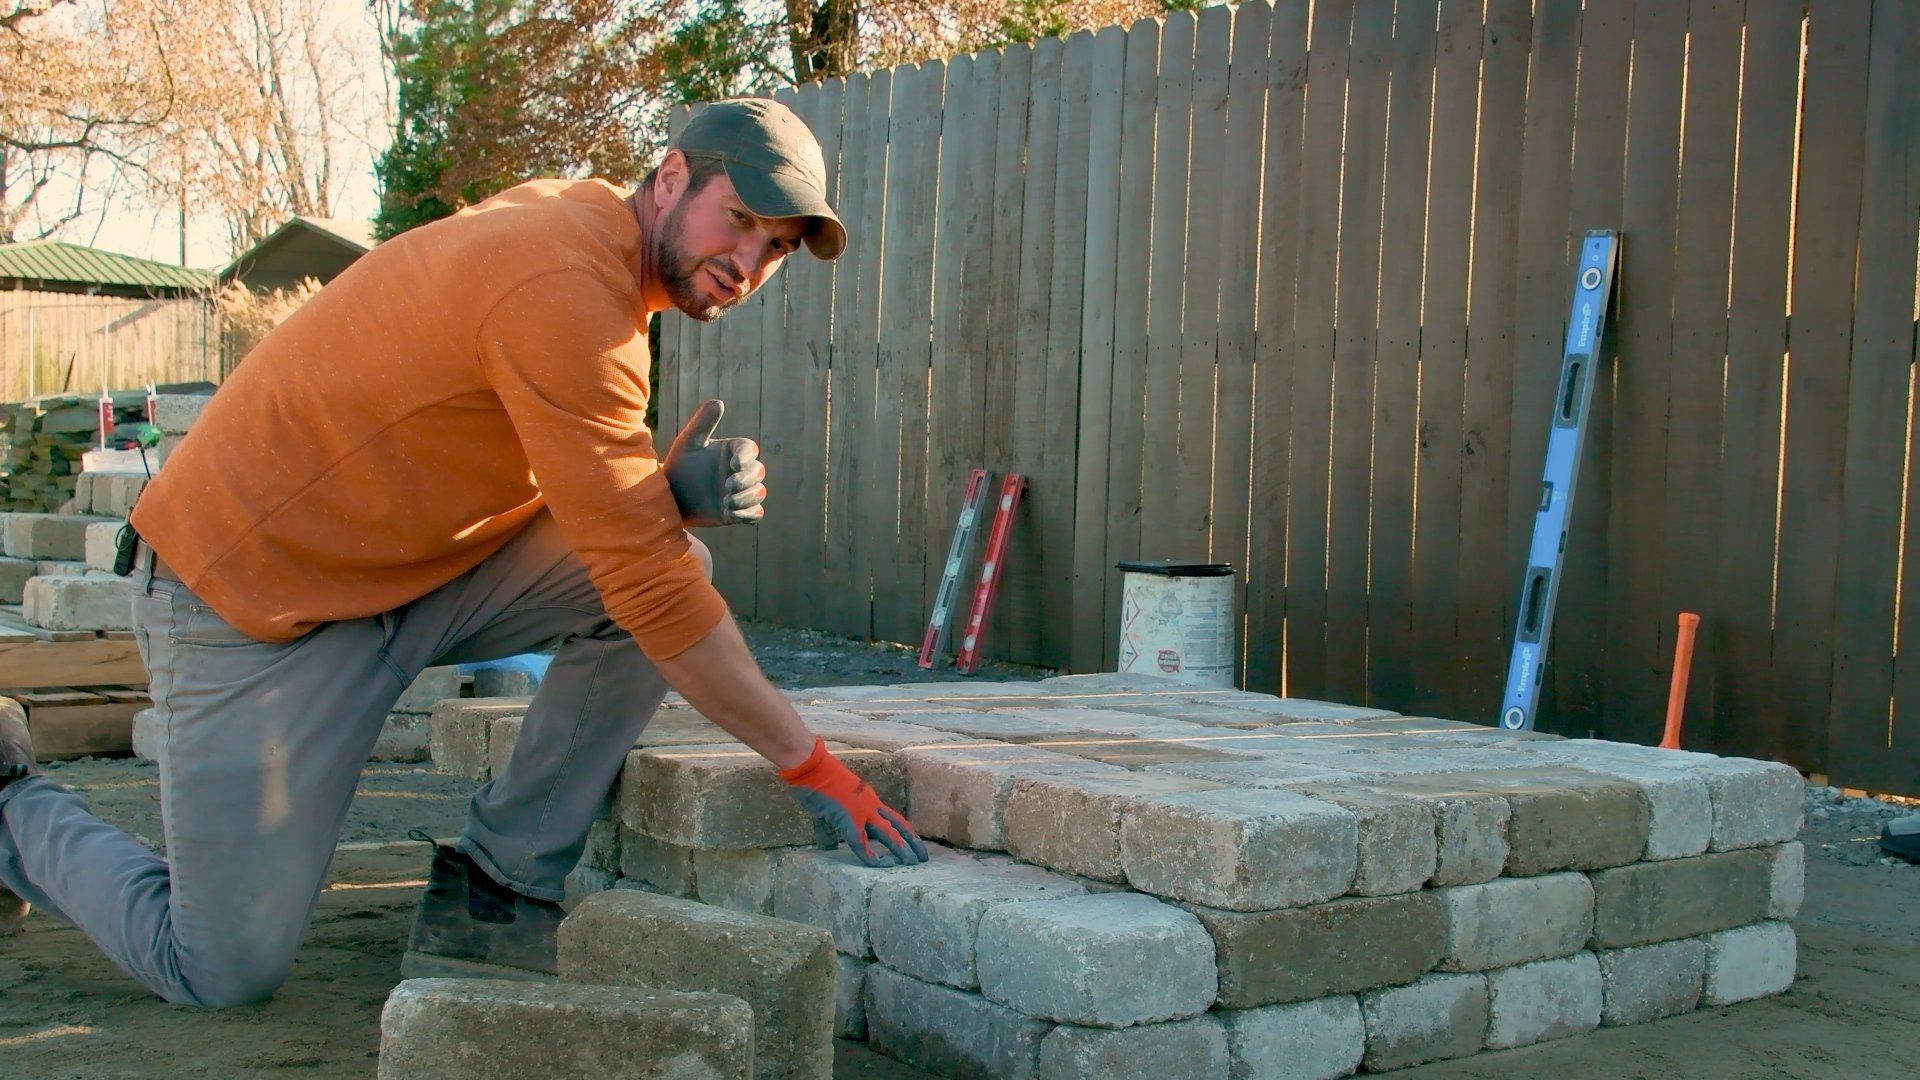
Lay the All-Important Base Courses
The importance of your first course cannot be overstated. Take the time to make sure it is perfectly square and level. Any imperfections here will continue to appear as you build your kit. Due to construction, measurement, and manufacturing variances, you must begin from the center out. Use your level as a straight edge to keep your blocks in a straight line. Using this method also keeps your runs at the proper length.


Build the Hearth and Firebox
Installing the Hearth
Congratulations. The tedious work of laying level and square base courses (or layers) is complete. Now you get to add the hearth and move on to completing the firebox. Usually, you would only glue the top faces of the blocks together. But, with the hearth, people will probably kneel, sit, and step on it. Therefore, consider adhering the ends of these blocks to the previously laid blocks. Also, glue the sides of your hearth blocks to each other. One small bead of glue down the center is enough to spread the load across all the blocks.
**PRO TOP** You will want the hearth blocks to cure before proceeding. Otherwise, you may step on the hearth and tip the blocks. Another (better) option is to glue the hearth blocks on at the very end of the build. Waiting until the end will also ensure your blocks don't get any glue or chips on them while building the rest of the fireplace.
Building The Firebox
The firebox is the central component of your fireplace. It is literally the box where all the lovely flames are produced. Air is drawn into the combustion chamber to feed the fire as it consumes the wood fuel. The heat of the fire creates an upward convection current of air. This current of air moves in an upward column. It compresses at the smoke chamber of the fireplace and speeds up as it rises through the chimney and escapes out the top. This draft pulls more air through the firebox opening, repeating the cycle continuously. The masonry absorbs the radiant heat of the fire. Much of that heat is reflected forward out the front opening of the firebox. The stored heat will radiate from the masonry for many hours- depending on how large the fire was, how hot it burned, and how long it was in the firebox. As you see, this firebox is the central component. Thankfully, the ratios of the firebox opening to the volume of the firebox and the smoke chamber and chimney volume have been designed to draft great. Therefore, all you have to do is build a box. It is straightforward. Just keep a few things in mind.
- Keep your build plumb. The back of your entire fireplace is plumb.
- Start each course building out from the back corners. Use them as a reference.
- Use your level as a straight edge to keep your blocks in a straight line.
- Use your level at an angle to align many courses at once to keep your fireplace from twisting.

Lining The firebox with Firebrick
Firebricks aren't necessary for the function of a fireplace. By code, only a minimum thickness of masonry is required. But firebrick are a great addition and serve a few useful functions. For starters, firebricks are very hard. This durability keeps them from degrading under the chemical and physical processes during combustion. Also, firebrick are very dense. The bricks' density allows them to absorb more heat to radiate for hours, keeping you warm. But most concrete products are hard and dense. So why firebrick? Firebrick are a replaceable layer for your fireplace. They are more durable and denser than concrete. But they mainly create a replaceable lining for your firebox. This lining protects the structural integrity of your firebox walls and adds an extra thickness of masonry to store heat. Plus, they are smooth to resist soot build-up, have light color to reflect heat, and have other specialized properties. But their main job is to protect and add thermal mass (fireplaces don't insulate- they are a heat battery).


Lining the firebox with firebricks is quite simple. No mortar is needed. You use the firebrick-specific adhesive to adhere your firebrick to the firebox. Follow the instructions provided with your kit. These instructions will show you the proper pattern and placement of your firebrick. Start lining your firebox from the front. Abut the fire brick(s) against the blocks that form the opening. Then build toward the rear corner. Your firebrick won't make it to the corner. This is intentional. After both sides are complete, line the back wall with the firebrick. Be sure not to fill the corners of your firebox. Leave the air gap.
Build the Throat and Smoke Chamber
Installing the Angle Iron
Look at you go! The firebox is almost complete. You need to install the angle iron- or two if you are building a two-sided fireplace. The angle iron is used as a lintel. A lintel is a single piece that spans an opening and supports a load (the masonry) above it. The angle iron will bear on two small "lintel blocks." These are blocks with the thickness of the angle iron cut or ground away. Be sure that the longer side of the angle points upward. You will want to glue the bottom AND sides of the lintel block to provide extra support. Place the angle iron such that the top of the angle leg is flush with the top of the surrounding blocks. If you do not ensure the top of the lintel is flush, the block will appear to sag above the opening.
The Lintel Blocks have been precisely cut, but you may need to use coins, shims, or mortar under the angle iron to make it flush. Be sure to center the iron to the firebox opening. The extra room allows the angle iron to expand. Once you lay the Lintel block flush, lay blocks and firebrick until your firebox and throat are complete.


Build the Throat
The throat is the small open section above the opening. The throat is only a few complete courses or layers straight above the firebox until you start racking in courses of blocks for the smoke chamber. You will lay the first course of the throat directly on top of the lintel you just installed. If you used mortar to tweak your lintel, let it cure before proceeding. You don't want your mortar bed squishing out from under your angle iron. Now is a great time to take a break. Maybe have some lunch and grab a cold drink. You have earned it.
Before you lay blocks across the lintel, you will need to stack some support blocks in the firebox opening. You will use this stack to catch the front of two blocks lying on the lintel. These two blocks will want to tip forward and fall off the lintel. Use the column of support blocks to catch the front edge of these blocks. Once you add enough weight on top of these blocks, you will be able to remove the support blocks. The weight of the masonry will keep the blocks from falling out. Continue stacking courses until it is time to start racking courses for the smoke chamber.
**PRO TOP** This is a great time to ensure your build is entirely level. You may want to use a grinder to eliminate any bumps or imperfections. Don't grind away too much. You can always make adjustments over a few courses. You want to end up with a flat-level surface on which to start building your smoke chamber and chimney.

Racking Blocks- Laying the Smoke Chamber
The smoke chamber is the fireplace section where the rising warm air and gases and particulate are constricted to the chimney. By narrowing the column of air, the pressure builds and speeds up. This restriction starts the draft of the fireplace up the chimney. This upward draft causes low pressure at the fireplace's opening, thereby pulling cooler air into the firebox to feed the fire. It is combusted and rises to create more draw, causing a continuous cycle. This process takes a mass of hot air. Thus, a proper draft takes several minutes to form when you first start a fire. Once the fire begins heating the air, the current gets more powerful. Interior fireplaces are more concerned about not allowing any smoke into the room (if designed correctly). Therefore, the smoke chamber is usually parged smooth with mortar. This difficult (and high maintenance) step is unnecessary for an outdoor fireplace.


Be sure to rack in each successive course evenly on both sides. Use the "finger trick" to ensure an even setback. Also, you won't have the back corner of the firebox to work off of as a reference. Be sure to take your time and keep the smoke chamber square, level, and plumb.
Finishing Your Fireplace
Building the Chimney
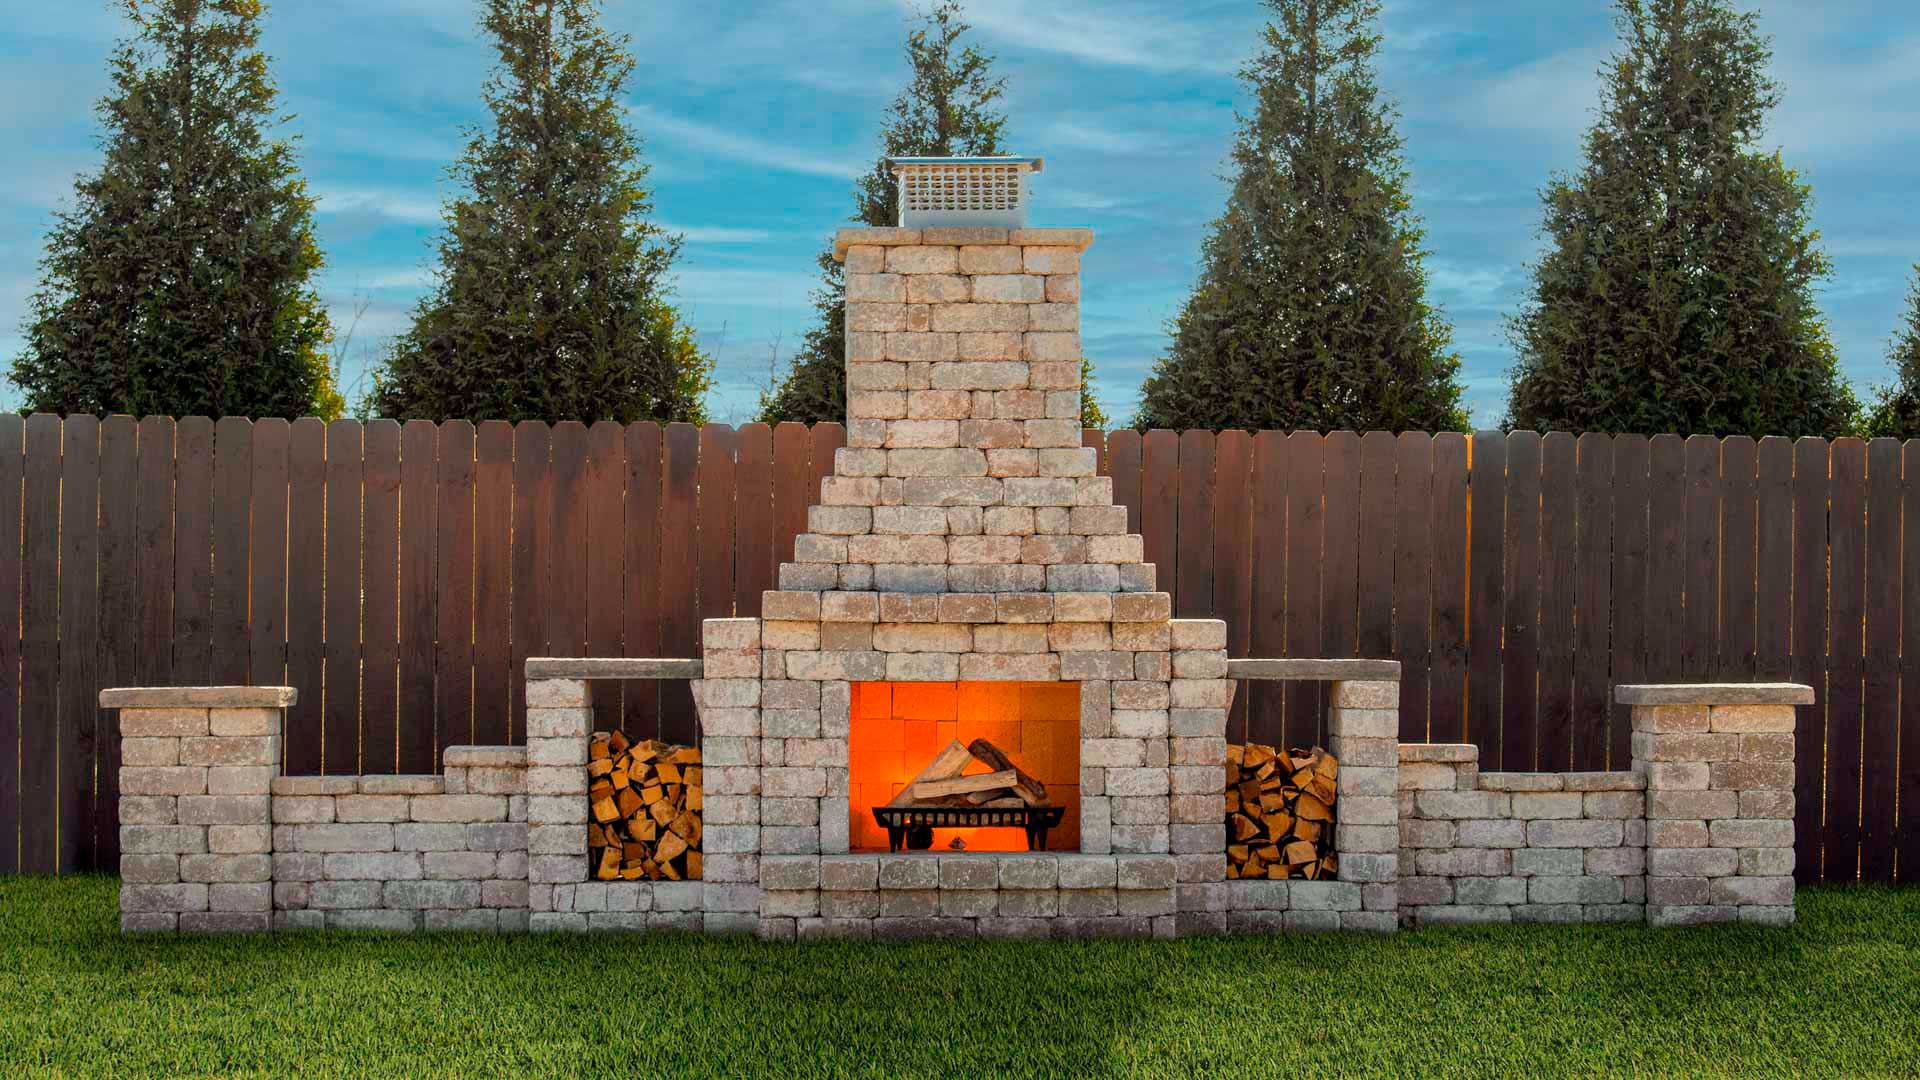
You have made it to the chimney! You are in the home stretch. By now, you should be a relative expert at making straight, level, and plumb squares. The four straight sides of the chimney will make keeping plumb much easier than the smoke chamber. The only difficulty you may encounter is the added working height. If you are installing wood boxes, build and cap those. Then you can stand on the wood boxes to build your chimney. You can also use a six-foot ladder to reach your chimney.
Our fireplace kits have been expertly designed to draft well as constructed. Your kit will draw well with the standard chimney height installed. That said, every fireplace can improve its draft by making the chimney taller (all else being equal). Suppose you live in a windy location or experience strange air currents or downdrafts from surrounding mountains or bodies of water. In that case, you may want to invest in a chimney extension.


Placing the Trim Stones
Placing the trim stones may be the easiest step you complete in your entire fireplace build. There are only eight square trim pieces to install. Take your time to make them straight. Keep the edges square with your fireplace. Use the finger trick to ensure all the blocks overhang the chimney below the same distance. If you have some wiggle in your chimney, you can finish your build off with a square straight cap to hide any imperfections. Be careful not to glue too close to the edge of the blocks. You don't want to see any excess smeared glue on the bottom of the caps when viewed from below.
**PRO TOP** Trim stones are viewed from the bottom, looking up. Be sure to place the best-looking sides facing down. Also, only the outside corners of four blocks are shown. Place your four favorite corners at the corners of your chimney. Moreover, you can hide any over-tumbled corners or edges toward the center opening. The spark arrestor will cover them, and nobody will ever see them.
Install the Spark Arrestor
Many kits include a heavy monolithic stone to cap their outdoor fireplaces. It makes sense. Concrete stone caps are more accessible and cheaper for concrete companies to include in their kit. Plus, the giant stone looks cool. But, the convenience and rustic look come with severe safety concerns. The first safety issue is the physical installation of the capstone. At the end of your build, when you are the most tired and ready to finish, you are expected to lift the heaviest stone to the highest elevation on your fireplace. You must often position it on wobbly supports that increase the likelihood of a dropping accident. Nobody wants a 150-pound stone falling toward them or their friends, especially when on a ladder. Installing a heavy monolithic stone is dangerous. It takes several helping hands, lifts, scaffolding, or other hoists.
Even when the capstone is placed without incident, it does little to nothing to keep floating embers from escaping. These floating embers can easily land on dry flora or structures and cause fires. You do not want to be responsible for a brush fire, a forest fire, or burning down your house. Luckily, we take your health and property seriously. We include a safer chimney cap on all our kits that is much easier to install. In fact, it is probably the lightest piece in the whole kit.

At the end of your fireplace build, you will be happy to install a lightweight stainless steel spark arrestor atop your chimney. The spark arrestor with its lifetime guarantee will continue to keep you safe for years to come by keeping floating fire hazards at bay. You're welcome.
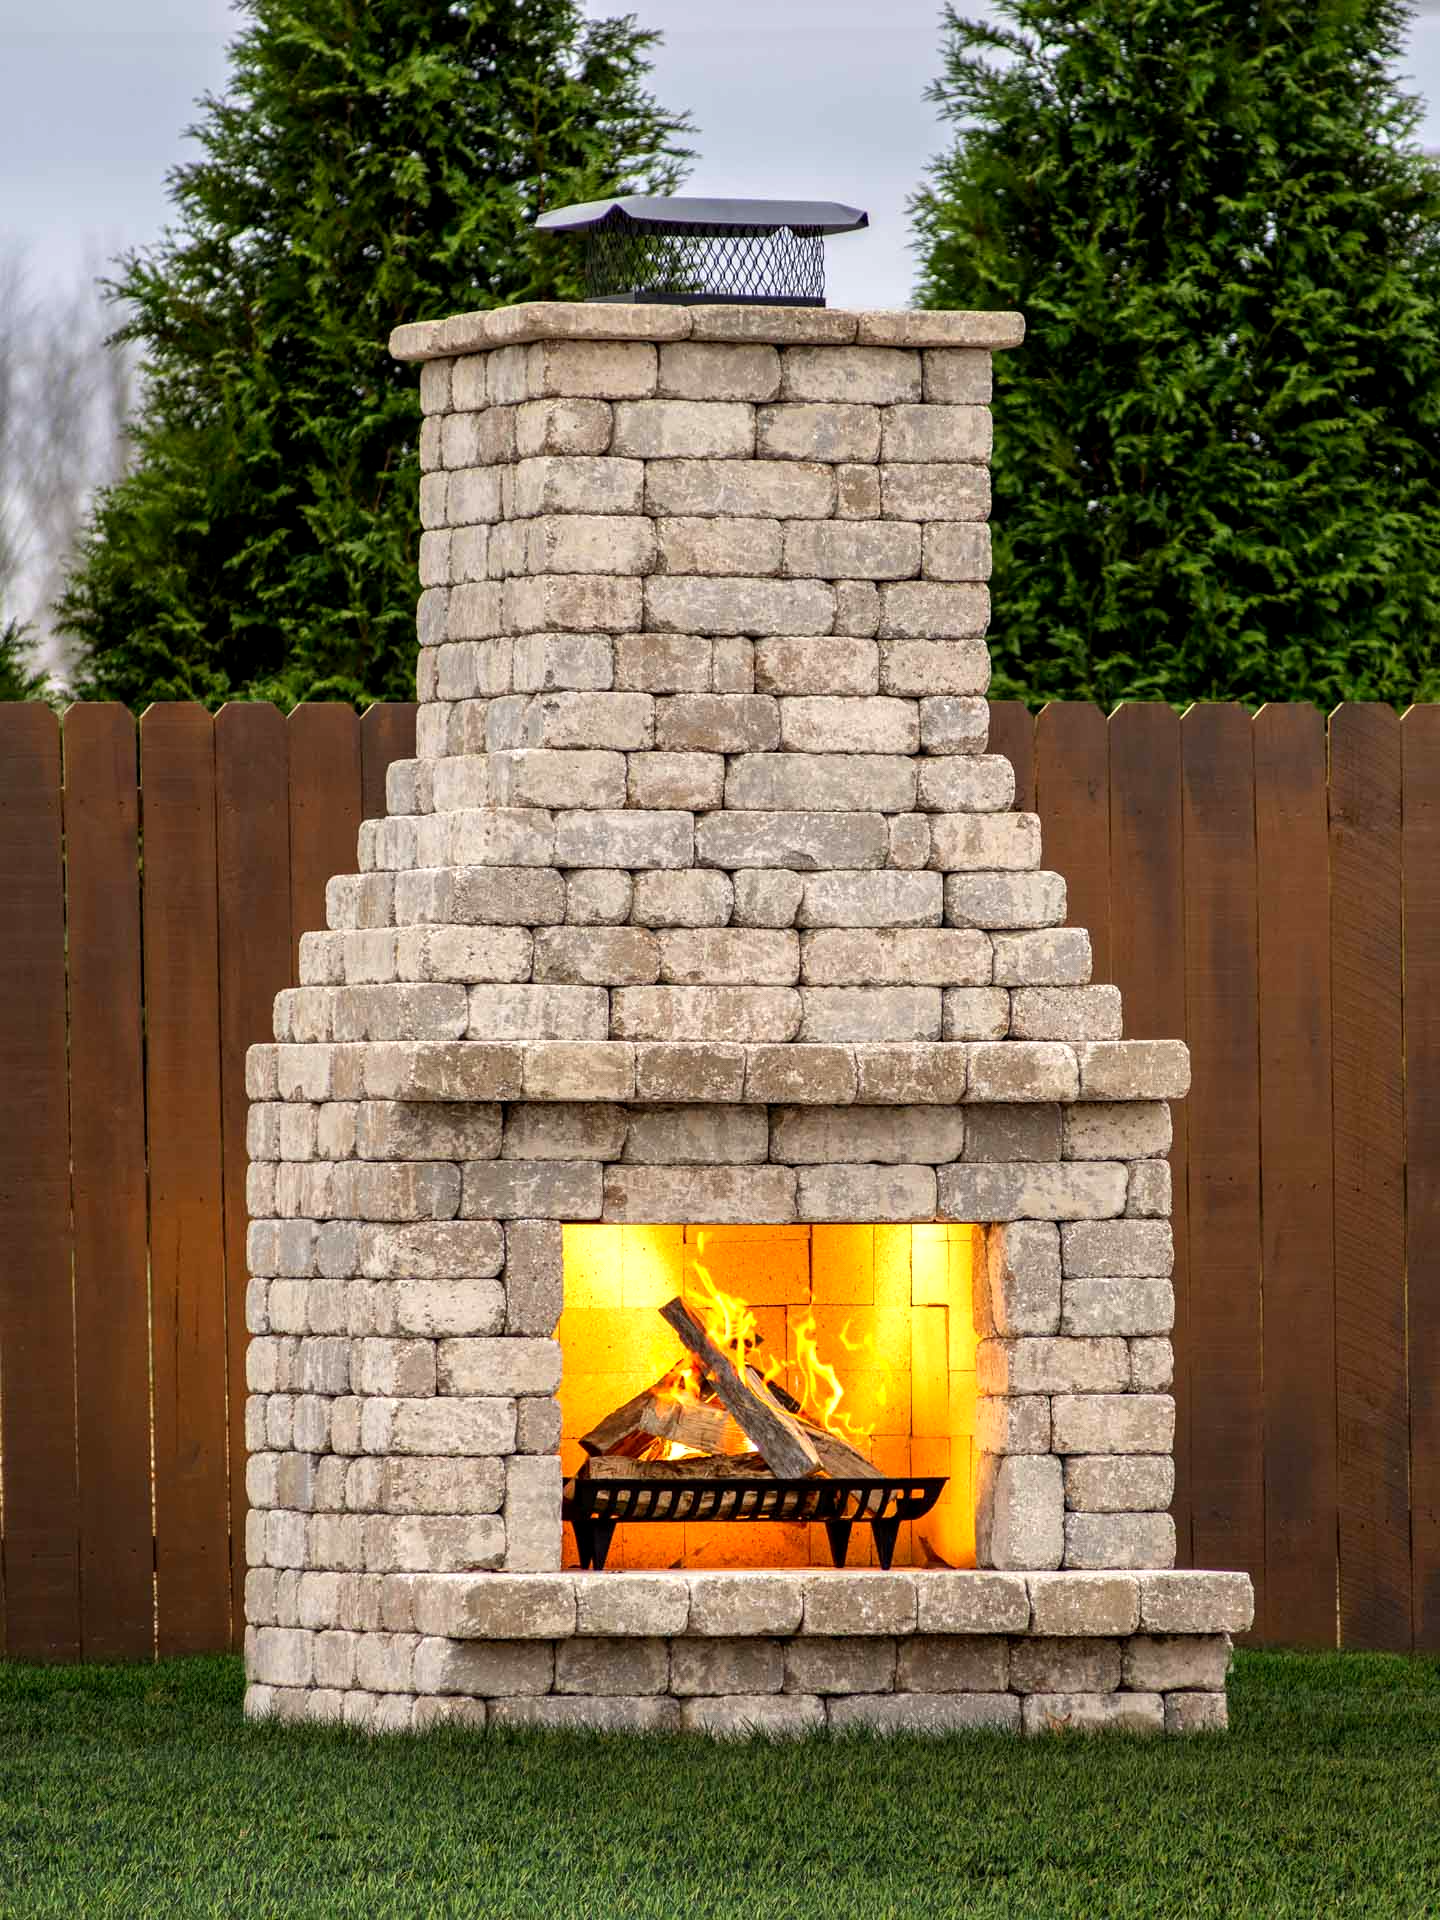
Congratulations!
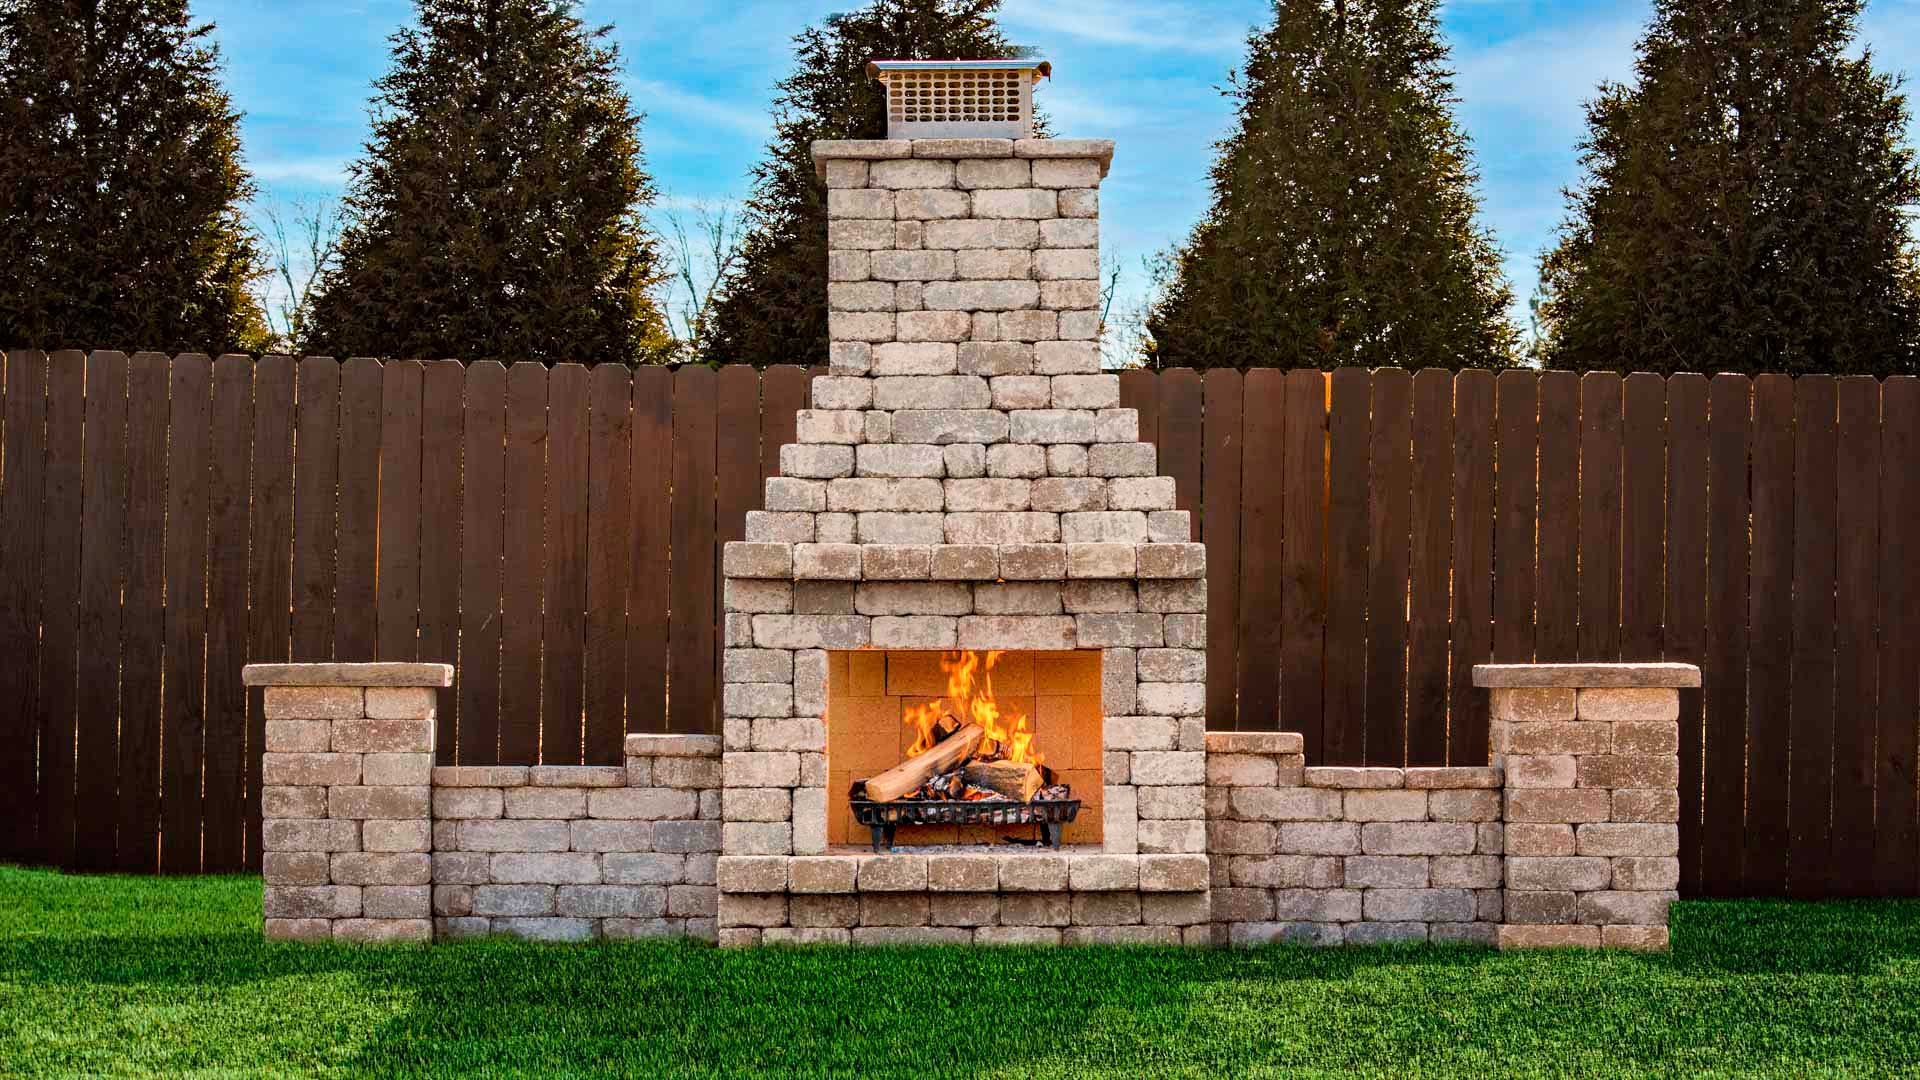
You have just finished your Outdoor fireplace kit! Be sure to add a fire grate to burn your logs. We do not include fireplace grates due to their many designs and users' personal preferences. You can buy self-feeding fire grates, fancy ones, grates that maximize popping, grates for sappy wood, etc. Learn about your options and choose the one that matches your needs and design criteria. You can always convert it to gas logs, too.
Learn how to add upgrades and options to your fireplace